We reach more than 65,000 registered users in Dec!! Register Now
Photography Tips on How to Take the Best Pictures
- May 24, 2014
- 897 Views
- 0 Likes
- 0 Comment
Having problem solving in low light situations? This article offers tips about how to get the best shots when shooting with little light. From changing ISO settings to how to hold you got it, this article has practical tips about shooting in low light situations including indoors and at weddings. We ...
Having problem solving in low light situations? This article offers tips about how to get the best shots when shooting with little light. From changing ISO settings to how to hold you got it, this article has practical tips about shooting in low light situations including indoors and at weddings.
We truly realize that one of the hardest places to shoot is the place there isn't enough light. Immediately arises difficult within us ' we need to get the shot, but we know we have to risk taking shots that might be unsharp, noisy, and even flat out blurry. In this article, we'll look at a few easy methods to take great pictures when shooting in low light situations.
Depending on the you're shooting, if you can use a tripod, then a lot of your problems will likely be solved. For example, in case you are shooting landscape or portraits (i.e. items that don't move a lot of) in low light, then this tripod will be a necessity in those situations. In that way, a longer shutter speed won't really hold you back in any way.
In most all cases, a tripod is not a realistic solution to shooting in low light situations. More often than not, we are shooting objects in motion ' sports, kids, animals, etc. Although carrying a monopod may help, you can still find many other tricks we could employ to acquire the best photos we can with limited light available.
The ISO setting is actually the speed of your 'digital film' since it controls you got it's sensitivity to light. In low light, in most cases necessary to raise your ISO speed. Most point-and-shoot cameras will assist you to change this setting, and positively all digital SLR cameras enables it (making it easy). In normal lighting, I keep my ISO at 100 (or sometimes 200 while on an overcast day). If I am shooting indoors or at dawn or dust, sometimes I have to boost my ISO to 400 or 800.
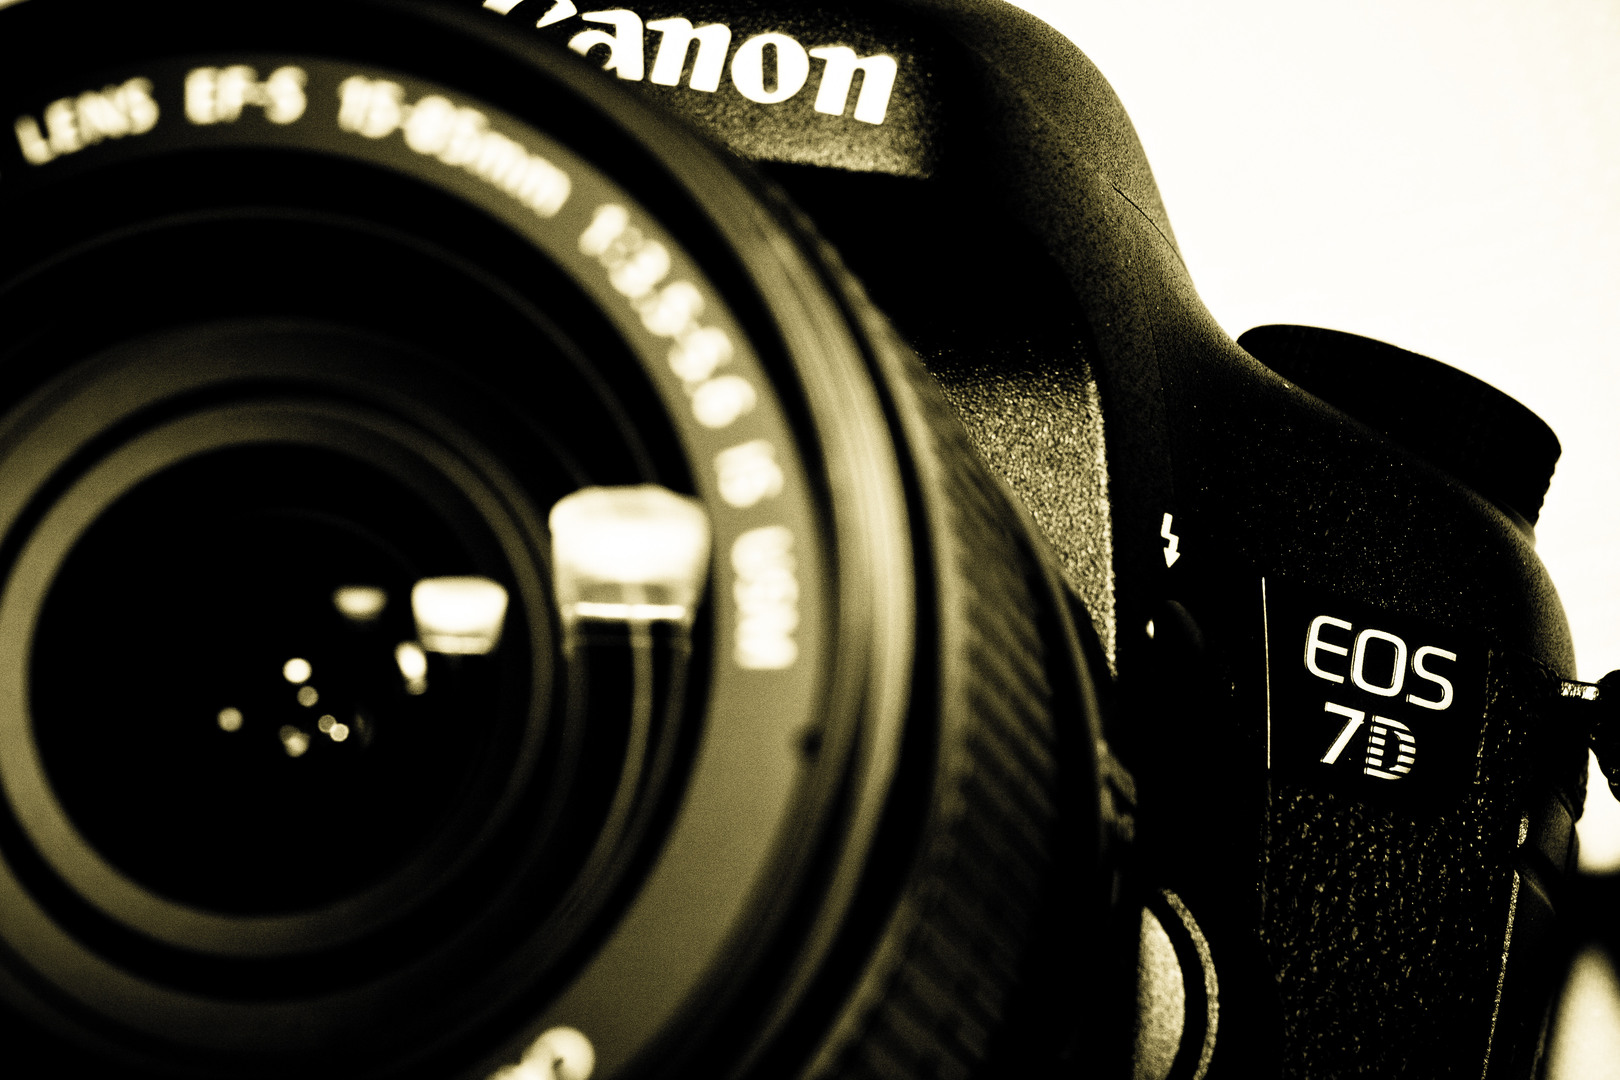
[caption id="attachment_6929" align="alignnone" width="1000"]
 A photograph taken at a very low light condition[/caption]
With Canon and Nikon, raising the ISO to 400 or 800 is generally safe, which means that you will have merely a limited amount of noise inside pictures. At ISO 1600, more noise will creep in on many in the models. Noise may be the digital comparable to grain in the photograph. Keep in mind that noise can oftentimes be removed inside the 'digital darkroom' (i.e. Adobe Photoshop) as soon as the picture is taken. So, raise the ISO when you need to and deal with the noise issues later in Photoshop.
How do you know how high to enhance the ISO? Raise it high enough so that you can shoot faster than 1/30 ' 1/60 second, which is usually fast enough to prevent shake in you got it and blur inside your photos.
Another little trick is always to lean on something sturdy ' along side it of a building, a park bench, a wall, a car ' any situation that will keep you against causing you got it to shake. This can result in the difference between a photograph that is blurry and one that is certainly sharp.
This next tip may seem like a no brainer, but contemplate it. When you're holding you guessed it-your camera, where will be the arms positioned? Are they for your sides or in the air? On a bright, sunny day, it won't really make much difference in any respect where your arms are situated. In low light, it is crucial that at least the arm which is supporting the digital camera is held tight to the side of one's chest. If it is not supported, then this tiniest shake or movement can compromise the photograph.
Another tip that's especially useful in those critical, high stakes situations (for example weddings) is usually to switch the digital camera to make continuous shots (a.k.a. burst mode) and shoot away! By shooting in burst mode, shoot five or even more shots in the same thing by holding the shutter button down. With pictures taken one after another, there is certainly surely to be at least one photo out in the bunch that is sharp.
Finally, when the situation permits it, work with a flash. The built-in flash will most likely suffice for subjects which are between 6-12 feet away from the digital camera. Anything further than that will require another flash unit to become used. This may be necessary if it is getting very dark or you need to capture something moving rapidly. If you can shoot it with out a flash by adjusting the ISO and utilizing one other tips, then do so. Try to use the natural light whenever feasible.
[caption id="attachment_6931" align="aligncenter" width="764"]
 Images taken in burst mode and then merged togrther[/caption]
If you liked this short article and you would like to get more info regarding ">which is the best camera company in the world.
Cite This Article as
gregorypalmer, "Photography Tips on How to Take the Best Pictures", MachPrinciple, May 24, 2014, https://machprinciple.com/post/photography-tips-on-how-to-take-the-best-pictures